A backwater valve is a crucial device designed to prevent sewage from flowing back into a home’s plumbing during a sewer backup. Installing this valve effectively blocks waste from entering basements or lower levels, protecting the property from potential water damage and costly repairs.
Backwater valve installation typically involves cutting into the main sewer line and fitting the valve so that it allows normal flow out but closes when backflow tries to enter. This process can often be handled by someone with basic plumbing skills, though professional help might be needed for more complex setups, especially in retrofit situations.
Proper installation and maintenance are essential to ensure the valve functions correctly and remains reliable over time. Knowing the steps involved, potential costs, and common challenges will help homeowners make informed decisions to safeguard their property from sewer backups.
Backwater Valve Installation Process
Installing a backwater valve requires specific tools and materials, careful site assessment, and a clear step-by-step procedure. After installation, testing and inspection ensure the valve functions correctly to prevent sewer backups.
Required Tools and Materials
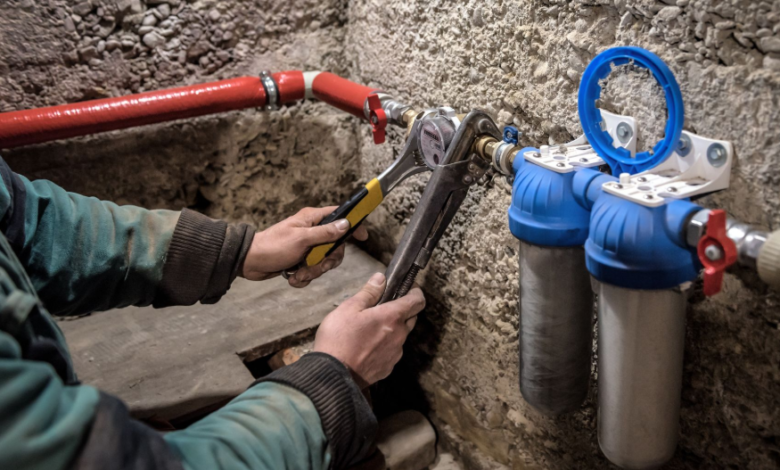
The basic tools needed include a pipe cutter or saw, a wrench set, a screwdriver, plumber’s putty or sealant, and measuring tape. Materials typically involve the backwater valve itself, pipe fittings, couplings, and PVC or cast-iron piping depending on the existing sewer system.
Safety equipment like gloves and eye protection are essential. Additionally, having a bucket or container for wastewater during pipe cutting prevents spills. Some installations may require excavation tools if the valve is placed underground or in crawl spaces.
Site Preparation and Assessment
Before installation, the sewer line slope must be evaluated to ensure proper flow direction; a minimum slope of 2% is recommended to prevent standing water within the valve. The area around the main sewer line cleanout or where the valve will be fitted should be cleared and accessible.
It’s important to verify the property’s sewer system type (storm or sanitary) and local code compliance. If the existing pipe is damaged or corroded, it may need repair or replacement before valve installation. The location should allow easy access for future maintenance.
Step-by-Step Installation Guide
- Shut Off Water Flow: Turn off main water or restrict wastewater flow to prevent spills.
- Expose the Pipe: Depending on location, cut through walls or dig to access the sewer mainline.
- Cut the Pipe: Use a pipe cutter to create an opening sized for the valve.
- Install the Valve: Place the backwater valve so the one-way flap faces outward, allowing wastewater to exit but blocking backflow.
- Seal the Connections: Apply plumber’s putty or appropriate sealant around joints to prevent leaks.
- Secure the Valve: Tighten couplings or fasteners according to manufacturer specifications.
- Restore Surroundings: Replace pipe covers, backfill trenches if needed, and clear debris.
Post-Installation Testing and Inspection
Once installed, the valve must be tested for functionality. This involves running water through the system to confirm it flows outward and checking the valve flap operates freely to block reverse flow.
Inspection includes verifying tight seals and no leaks at joints. Sometimes a professional camera sewer inspection is recommended to ensure proper fit and operation. Regular maintenance plans should be established to clean the valve and remove debris, maintaining long-term effectiveness.
Maintenance and Troubleshooting
Proper upkeep of a backwater valve ensures it functions correctly to prevent sewage backflow. Regular checks, recognizing installation errors, and identifying failure signs are essential to maintain its performance and protect the home.
Routine Maintenance Tips
Backwater valves require annual inspections to remain effective. Homeowners should clean the valve chamber to remove debris, which can obstruct valve closure. Lubricating moving parts if recommended by the manufacturer helps maintain smooth operation.
Testing the valve’s flap or gate regularly by manually opening and closing it confirms it is not stuck. Additionally, checking for cracks or damage to seals should be part of the routine. Many municipalities offer rebates for annual inspections and maintenance, making this a cost-effective step.
Documenting maintenance activities and scheduling reminders can prevent overlooked care, which often leads to expensive repairs.
See also: Assessing Physical Accessibility in Aged Care Homes
Common Installation Mistakes
Incorrect placement of the valve in the main sewer line is a frequent error. It must be installed downstream of all branch lines to prevent backflow from other connected pipes. Installing the valve too far from accessible cleanouts complicates maintenance.
Using incompatible pipe sizes or materials can lead to leaks or improper sealing. Poor sealing around the valve housing often results in groundwater intrusion or sewage leakage.
Another mistake is failing to secure permits or inspections. Skipping these legal steps may void warranties or cause compliance issues. Proper planning and adherence to local codes reduce costly adjustments later.
Signs of Backwater Valve Failure
A backwater valve failure often presents as foul odors or wastewater seepage in the basement or lower levels. Slow drainage during heavy rain or sewage backup are early warning signs.
If the valve flap remains open or stuck, sewage can flow back into the home. Visual inspection may reveal cracks in the valve body or damaged seals.
Unusual noises near the valve during water flow can indicate internal problems. Frequent backups despite having a valve installed strongly suggest malfunction requiring immediate attention. Early detection prevents extensive damage and expensive restoration.